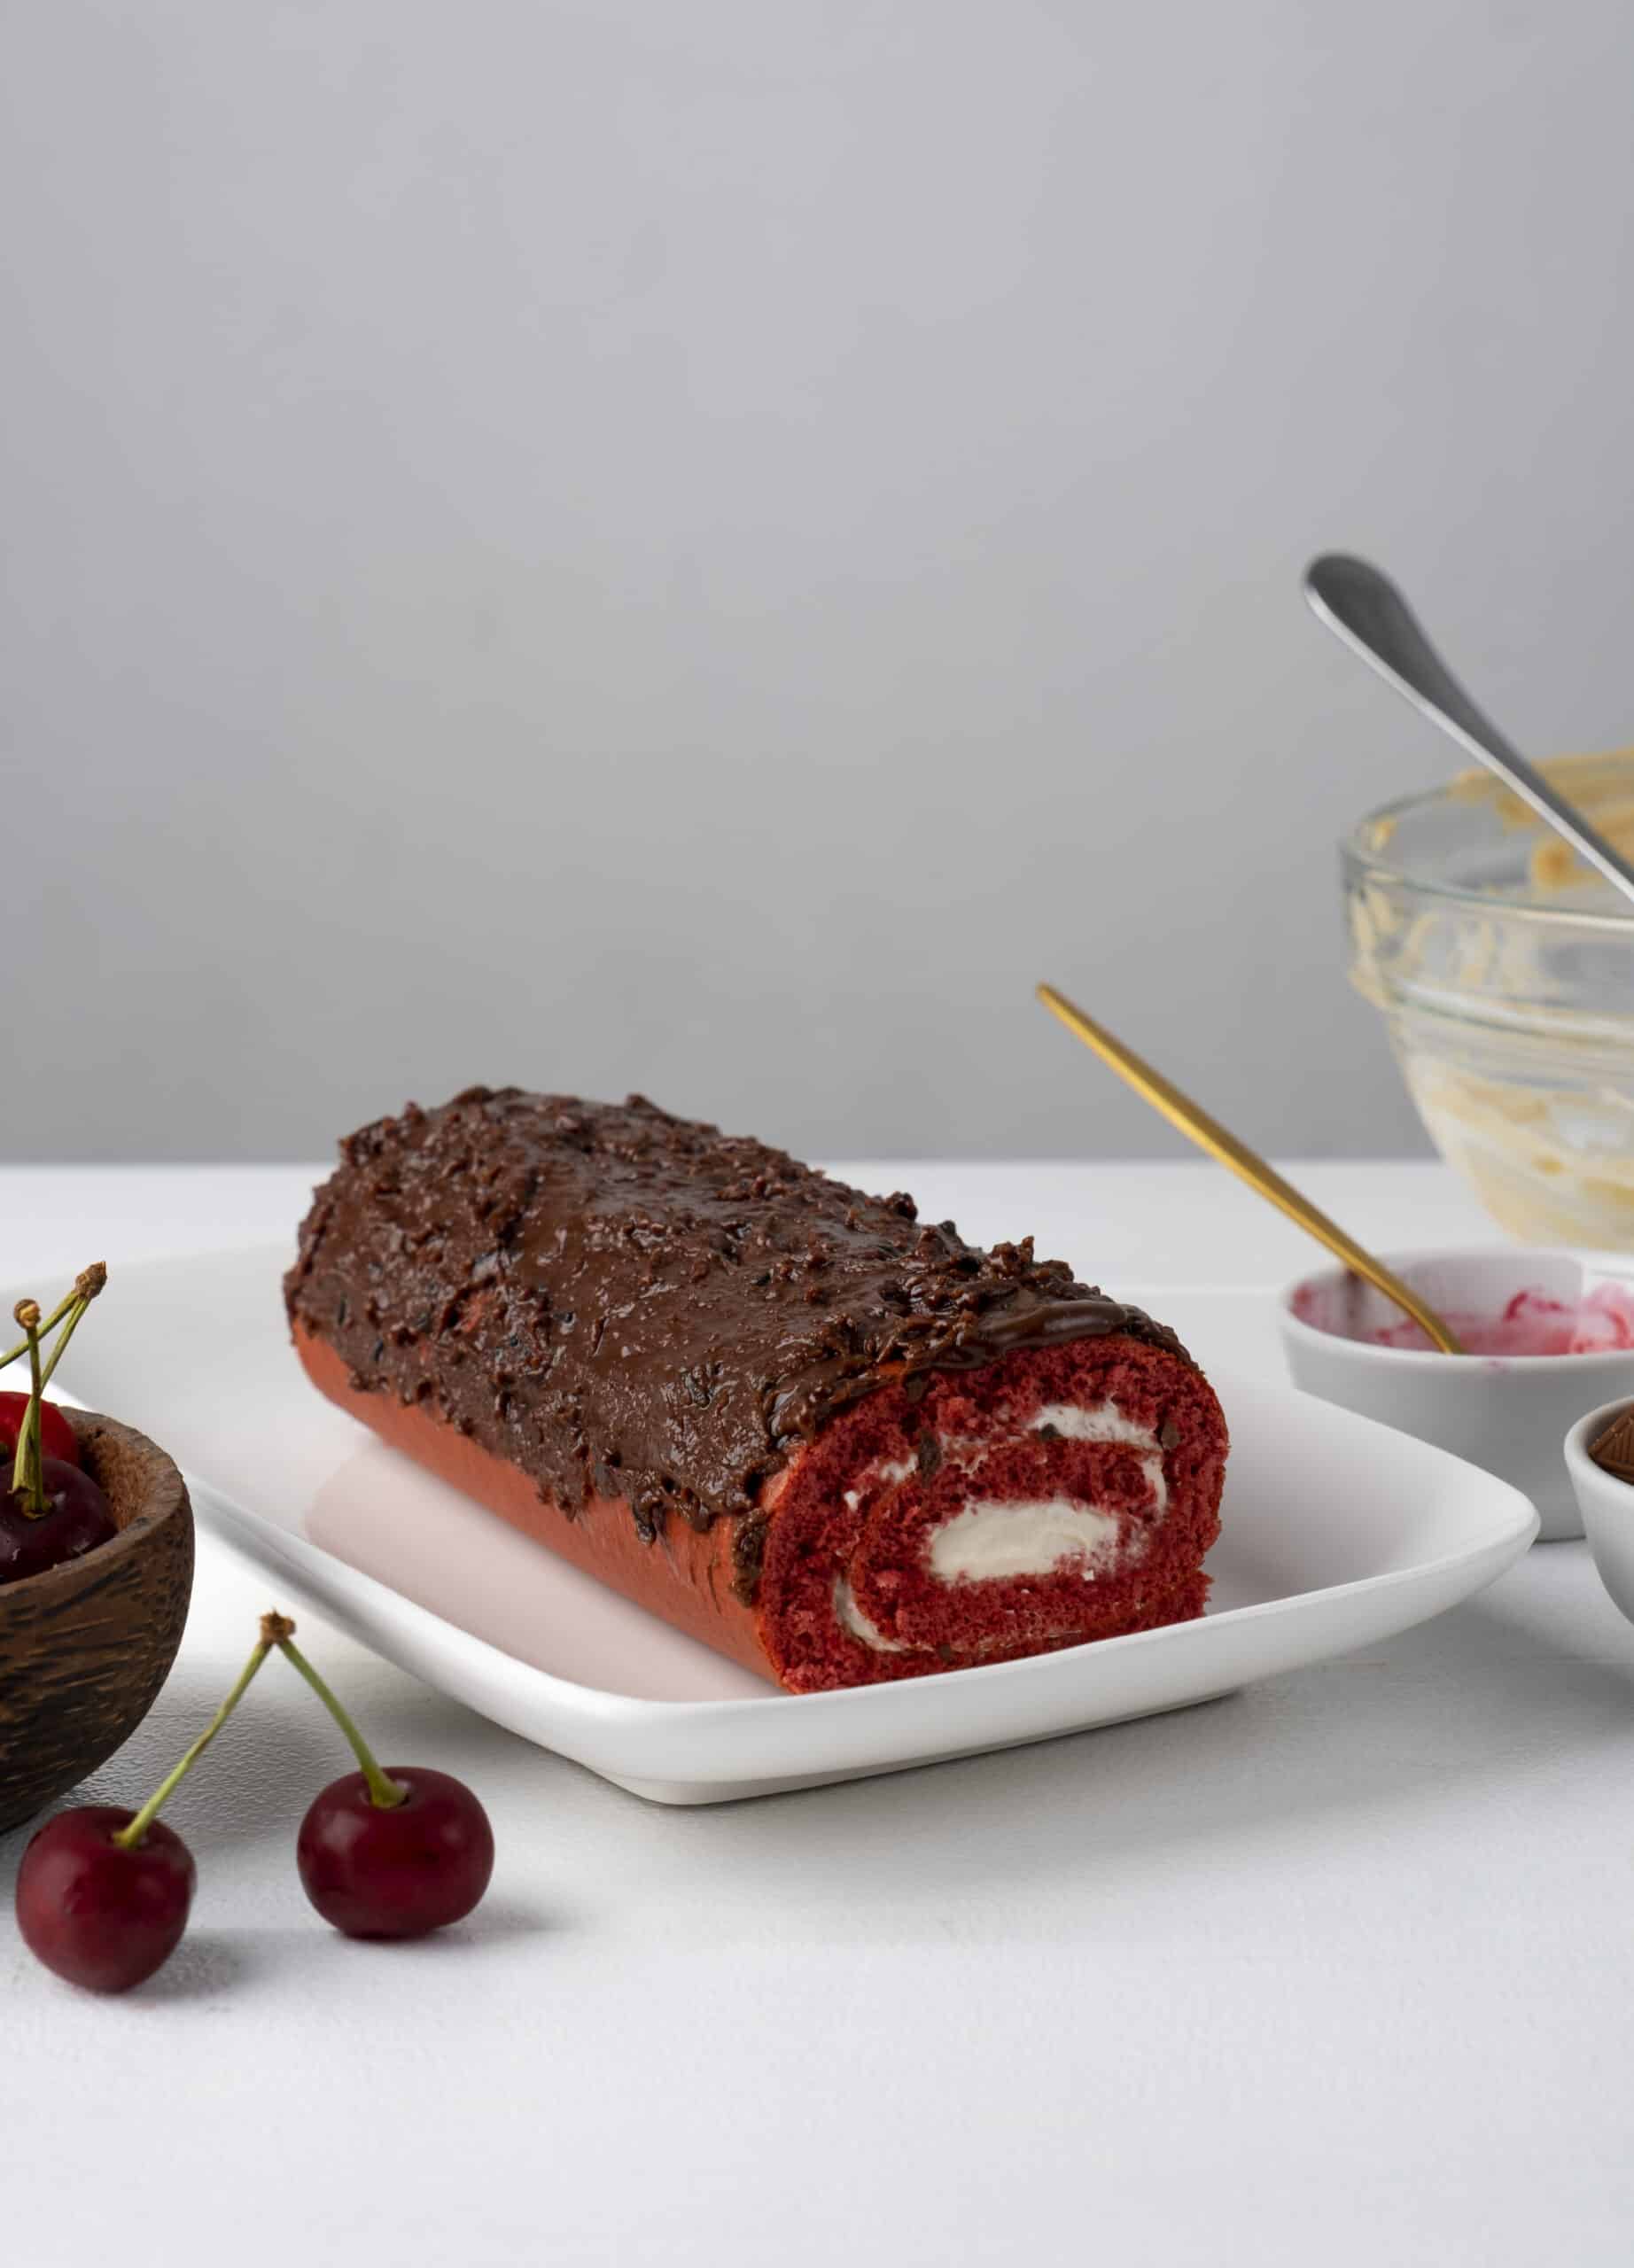
Red velvet brownies are a delightful twist on the classic brownie, combining the rich flavor of cocoa with the vibrant color and subtle tang that red velvet desserts are known for. Whether you’re baking for a special occasion or just craving something sweet, these brownies are sure to impress. In this guide, we’ll take you through everything you need to know to create the perfect red velvet brownies at home.
Key Ingredients for Red Velvet Brownies Recipe
To achieve the perfect balance of flavor and texture, it’s important to use high-quality ingredients in your red velvet brownies:
- Cocoa Powder: The type of cocoa powder you use will greatly influence the flavor of your brownies. Look for a high-quality, unsweetened cocoa powder for the best results.
- Buttermilk: Buttermilk adds a slight tanginess to the brownies and helps create that signature red velvet texture. If you don’t have buttermilk on hand, you can make a substitute by mixing a tablespoon of lemon juice or vinegar with a cup of milk.
- Red Food Coloring: The vibrant red color of these brownies is achieved through the use of red food coloring. You can opt for either natural or artificial food coloring, depending on your preference. Natural food coloring tends to be less intense but is a great option for those looking to avoid artificial dyes.
Using natural food coloring can be a healthier choice, as it avoids synthetic additives. You can learn more about the benefits of natural food coloring and how it affects your baking.
Choosing the Right Red Food Coloring
When it comes to achieving that perfect red hue, choosing the right food coloring is key. Here are some tips to help you decide:
- Natural vs. Artificial: Natural food coloring, made from ingredients like beets or pomegranates, is a great choice for those looking to avoid artificial additives. However, it may result in a slightly less vibrant color. Artificial food coloring, on the other hand, offers a more intense red but comes with the drawbacks of synthetic dyes.
- Amount Needed: The amount of food coloring you’ll need will vary depending on the type and brand you choose. Start with a small amount and gradually add more until you reach your desired shade.
If you’re interested in exploring the health benefits of using natural food coloring, Healthline offers an in-depth look at its advantages.
Tools and Equipment Needed
Before you start baking, make sure you have the following tools and equipment ready:
- Mixing Bowls: You’ll need separate bowls for wet and dry ingredients.
- Spatula: A silicone spatula is perfect for folding ingredients together without overmixing.
- Baking Pan: A square or rectangular baking pan is ideal for brownies. Line it with parchment paper for easy removal.
- Measuring Cups and Spoons: Accurate measurements are crucial in baking to ensure consistent results.
Having the right tools at your disposal will make the baking process much smoother and help you achieve the perfect red velvet brownies.
Step-by-Step Red Velvet Brownies Recipe
Follow these simple steps to create your own batch of delicious red velvet brownies:
- Preheat the Oven: Preheat your oven to 350°F (175°C). Grease your baking pan and line it with parchment paper for easy removal.
- Prepare the Dry Ingredients: In a large mixing bowl, sift together 1 cup of flour, ¼ cup of high-quality cocoa powder, and a pinch of salt. Set aside.
- Mix the Wet Ingredients: In another bowl, combine ½ cup of melted butter, 1 cup of sugar, 2 large eggs, and 1 teaspoon of vanilla extract. Beat until well combined.
- Add Buttermilk and Food Coloring: Stir in ¼ cup of buttermilk and the desired amount of red food coloring until the mixture is smooth and evenly colored.
- Combine Wet and Dry Ingredients: Gradually add the dry ingredients to the wet ingredients, folding gently until just combined. Be careful not to overmix, as this can lead to dense brownies.
- Bake: Pour the batter into the prepared baking pan and smooth the top with a spatula. Bake for 20-25 minutes, or until a toothpick inserted into the center comes out clean.
- Cool and Cut: Allow the brownies to cool completely in the pan before lifting them out using the parchment paper. Cut into squares and enjoy!
Adding Cream Cheese Swirl
To elevate your red velvet brownies even further, try adding a cream cheese swirl. Here’s how:
- Prepare the Cream Cheese Mixture: In a small bowl, beat together 4 ounces of softened cream cheese, ¼ cup of sugar, 1 egg yolk, and ½ teaspoon of vanilla extract until smooth.
- Swirl into the Batter: Drop spoonfuls of the cream cheese mixture onto the brownie batter and use a knife to create swirls.
- Bake: Follow the baking instructions as usual, and enjoy the delicious combination of cream cheese and red velvet in every bite.
Alternative Toppings and Variations
Once you’ve mastered the basic Red Velvet Brownies Recipe, feel free to experiment with different toppings and variations:
- Frosting: Top your brownies with a layer of cream cheese frosting or a white chocolate drizzle for an extra indulgent treat.
- Nuts and Chocolate Chips: Add chopped nuts or chocolate chips to the batter for added texture and flavor.
- Brownie Sandwiches: Use two brownies to create a sandwich with ice cream or whipped cream in the middle.
These variations allow you to customize your brownies to suit your personal taste and the occasion.
Tips for Perfect Red Velvet Brownies
Even though baking red velvet brownies is straightforward, a few tips can help ensure the best results:
- Avoid Overmixing: Overmixing can result in dense, tough brownies. Mix just until the ingredients are combined.
- Check for Doneness: Insert a toothpick into the center of the brownies to check for doneness. If it comes out clean or with a few moist crumbs, they’re ready.
- Adjust for Altitude: If you’re baking at high altitude, you may need to make adjustments to the recipe, such as reducing the sugar or adding a bit more flour.
Storing and Freezing Red Velvet Brownies
Proper storage is key to keeping your brownies fresh and delicious:
- Storing: Store brownies in an airtight container at room temperature for up to 3 days. For longer storage, place them in the refrigerator.
- Freezing: Red velvet brownies freeze well. Wrap them individually in plastic wrap and place them in a freezer bag. They’ll keep for up to 3 months. Thaw at room temperature before serving.
For more tips on storing and freezing baked goods, Ball Mason Jars offers useful guidelines.
Serving Suggestions and Pairings
Red velvet brownies are versatile and can be enjoyed in a variety of ways:
- With Coffee: Enjoy a brownie with a cup of coffee for a delicious afternoon treat.
- Paired with Ice Cream: Serve warm brownies with a scoop of vanilla or cream cheese ice cream.
- As a Dessert Base: Use brownies as a base for other desserts, like trifles or brownie parfaits.
Frequently Asked Questions
How do I make my red velvet brownies more fudgy?
To make fudgier brownies, reduce the baking time slightly and use more butter or chocolate in the recipe.
Can I use natural food coloring instead of artificial?
Yes, natural food coloring is a great option. However, it may result in a less vibrant color compared to artificial food coloring.
What’s the best way to store red velvet brownies?
Store them in an airtight container at room temperature for up to 3 days. For longer storage, refrigerate or freeze them.
Why did my brownies come out dry?
Dry brownies are often a result of overbaking. Be sure to check for doneness early and remove them from the oven as soon as they’re done.
Can I make red velvet brownies without eggs?
Yes, you can substitute eggs with alternatives like applesauce, yogurt, or flaxseed meal. The texture may vary slightly, but the brownies will still be delicious.
Conclusion
Making your own red velvet brownies is a rewarding experience that results in a delicious treat perfect for any occasion. With this step-by-step guide, you’ll be able to create red velvet brownies that are rich, fudgy, and full of flavor. So, grab your ingredients, preheat the oven, and enjoy the process of baking these delightful treats!


